What is SEO (Search Engine Optimization)?
SEO stands for Search Engine Optimization, and it’s the process of improving your website to help search engines (like Google) understand what your site is about—and then show it to people who are searching for something related.
Think of SEO like this:
You’ve just opened a gorgeous boutique, but it’s down a side street with no signs. SEO is what puts a sign at the corner, drops a pin on Google Maps, and helps people walking by know they’ve found exactly what they were looking for.
SEO includes:
- Using the right keywords (the phrases people are typing into Google)
- Structuring your site clearly (headings, meta descriptions, page titles)
- Writing content that answers specific questions or solves a problem
- Optimizing technical aspects like image tags, page speed, and mobile usability
It’s not just for big websites or bloggers—it’s for anyone who wants their site to be discoverable.
Why SEO Matters (Especially for Small Brands + Creatives)
Great design builds trust. But if no one can find your site, that trust never gets a chance to happen.
SEO helps your website become a magnet for the right people—people who are already searching for the services, products, or insight you offer.
Here’s why SEO is worth prioritizing:
- It brings in warm leads. These are people who are already searching for what you do—they’re halfway to working with you.
- It works while you sleep. Unlike Instagram posts that vanish in 48 hours, good SEO can bring you traffic for months (or years).
- It costs you nothing but time. SEO is a long-term strategy that doesn’t require paid ads. If you’re showing up on Google, you’re essentially getting free traffic.
- It builds credibility. Showing up in search results makes your brand look more trustworthy and established—especially if someone is comparing options.
Example:
If you’re a brand photographer in Austin and someone Googles “Austin brand photographer,” imagine how powerful it would be if your homepage showed up in the top 5 results. With basic SEO best practices, that’s totally possible over time.
Even if you’re just starting out, optimizing your site from the beginning puts you ahead of 90% of other small businesses.
How to Set Up SEO Using Yoast SEO (Free Plugin)
Yoast makes it easy to take care of your website’s SEO, even if you’ve never touched SEO before.
Step 1: Install the Plugin
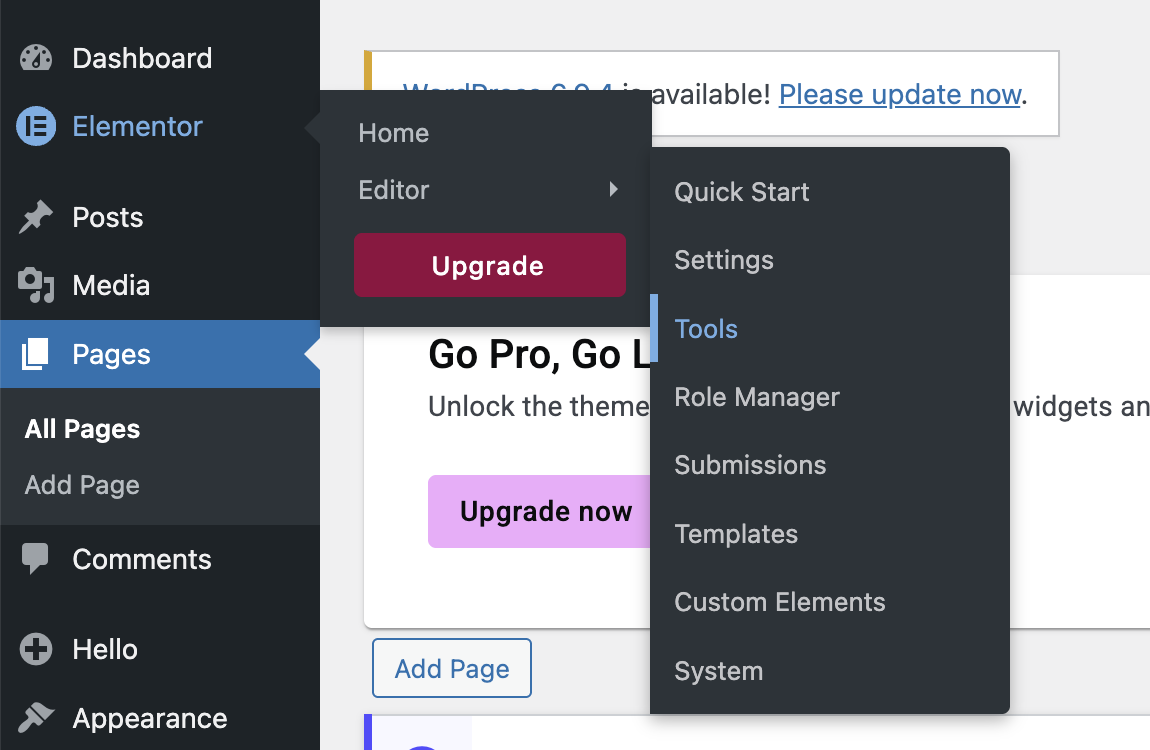
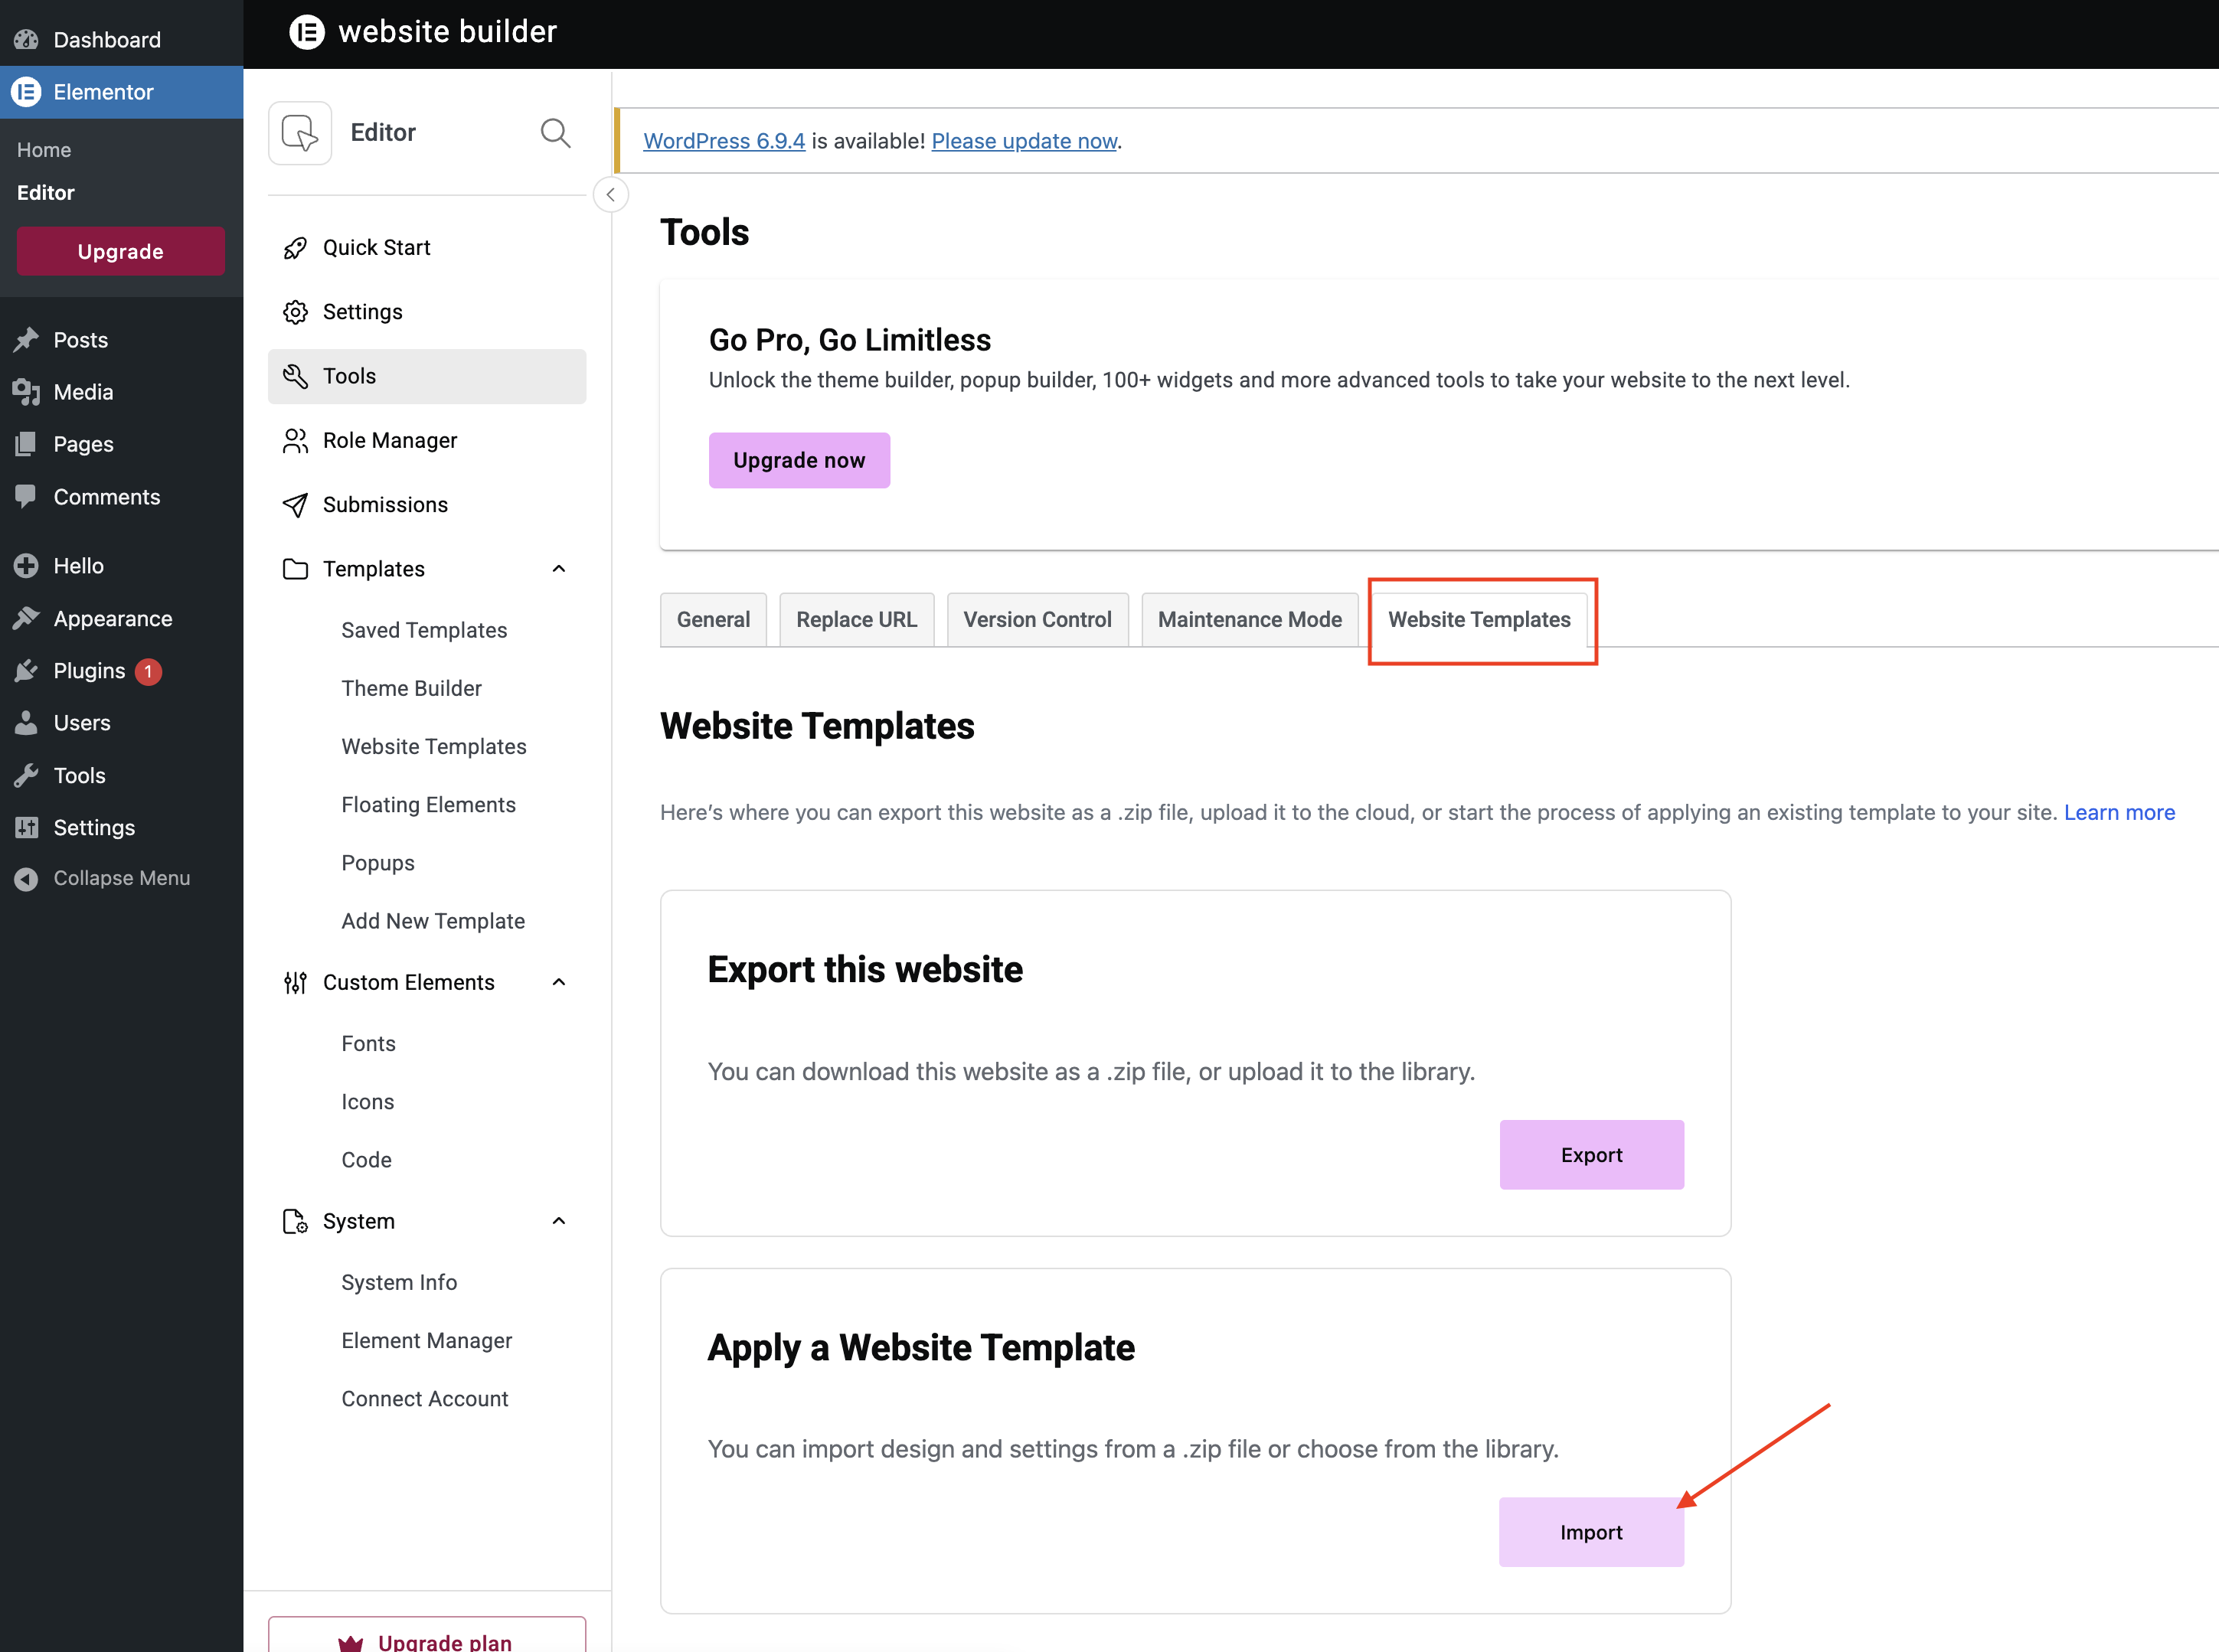
- Go to your WordPress Dashboard
- Navigate to Plugins → Add New
- Search for “Yoast SEO”
- Click Install Now, then Activate
- You’ll now see a new “SEO” tab in your sidebar.
Step 2: Use the Configuration Wizard
Once activated:
- Go to SEO → General → Configuration Wizard
Follow the steps:
- Choose whether your site is for a business or personal brand
- Enter your brand name
- Upload your logo
- Connect your social media profiles
- Let Yoast automatically generate your sitemap (this helps search engines “crawl” your site)
This sets your site up with the basic structure search engines need to understand your content.
Step 3: Optimize Each Page + Post
Every time you create or edit a page or blog post, scroll to the Yoast SEO box underneath the content area.
Here’s what to do:
Add a Focus Keyphrase
This is the main phrase you want this page to rank for.
Example: If you’re a wedding florist in Seattle, your focus keyphrase might be:
“Seattle wedding florist”
Write an SEO Title
This is the clickable title people see in Google. Make it clear and relevant.
Example: “Luxury Seattle Wedding Florist | Your Brand Name”
Write a Meta Description
This is the short sentence or two that shows under your title in search results.
It should be descriptive and make someone want to click.
Example: “Your go-to Seattle florist for modern, luxurious wedding flowers. Booking 2024 dates now.”
Use the On-Page Tips
Yoast will give you easy-to-follow suggestions to improve your content:
- Are you using your keyword enough (but not too much)?
- Are your sentences easy to read?
- Have you used internal links?
Aim for a “green light,” but don’t stress if you’re not perfect.
Bonus SEO Tips for Beginners
Here are a few extra best practices to get the most from your content:
- Use Headings (H2, H3, etc.) to break up your content and help Google understand the structure
- Add alt text to all images (describe what’s in the photo and include your keyword if appropriate)
- Keep URLs short and clean (example: yourdomain.com/about, not yourdomain.com/page?id=234)
- Link to other pages on your site when it makes sense (like from your homepage to your services page)
- Be human. Google wants to rank useful content. Write for people first—search engines second.
Don’t Forget to Submit to Google
Once your site is live and you’ve installed Yoast, you can help Google find your site faster by:
- Visiting Google Search Console
- Adding your site and verifying it (Yoast makes this easy)
- Submitting your sitemap (usually found at yourdomain.com/sitemap_index.xml)
This tells Google, “Hey! My site is ready to be found.”